How to create a Gallery Wall Without Turning it Into Swiss Cheese
- Grotto Studios
- Dec 4, 2025
- 4 min read
Designing a gallery wall is one of the coolest (and most unique) ways to transform a blank wall into a personal story. Whether you're showcasing travel photography, coastal-inspired prints, mid-century cocktail designs or meaningful family moments, a curated collection brings warmth, texture and personality into any space. At Grotto Studios, we believe there’s something for everyone under the sun — and gallery walls are the perfect canvas for that philosophy.

Here’s how to create a gallery wall that feels polished, intentional and uniquely you, without turning your walls into swiss cheese.
Gallery wall Rule #1 Pick a Theme (or a Mood!)
A gallery wall doesn’t need to match perfectly — but it should feel cohesive. Here are popular directions:
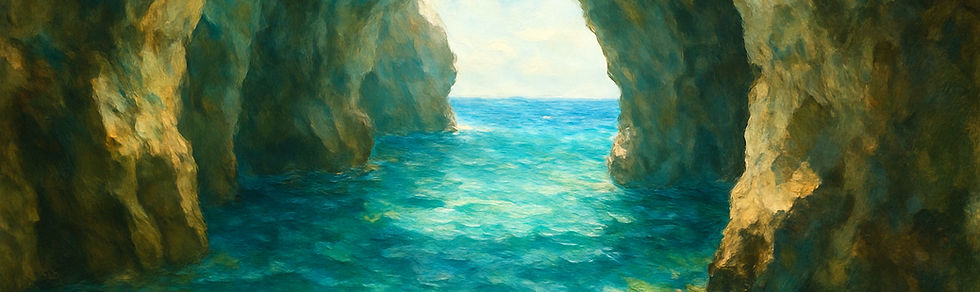
Color Story: Sea-glass blues, sandy neutrals, or bold retro shades like coral and teal.
Cohesive Subject Matter: Designs like cocktail art, coastal scenes, abstracts, travel posters, landscapes, florals, family photos, etc.
Vibes: Mid-century modern, boho beach cottage, whimsical retro, or minimalist chic.
Choose one element to tie everything together — color, framing or subject — and you’re already halfway there.

Mix Sizes & Shapes for Visual Interest
Some of the most interesting gallery walls use a blend of:
Squares + rectangles
Large “hero” pieces + smaller supporting pieces
Varied orientations (portrait + landscape)
E.g., you can try pairing a statement 20×30" piece with a set of 12×12 designs or a row of 8×10 eye-catching images. The variety keeps the eye moving and tells more of your story.
Map Your Layout Before You Hang Anything
Here are two easy methods:
Your gallery wall cheat: The Paper Template Method
Cut kraft paper (even a brown grocery bag) to match the size of each frame, tape them to the wall, and shift them around until the arrangement feels balanced and right for you.

The Floor Layout Method
Get down and dirty...or clean the floor first! Lay all of your kraft paper cut outs or frames, if you already have ones you love, on the floor in front of the wall you're decorating. Play with spacing until everything feels right — then snap a photo to guide you when you hang. You can even bring the photo into your favorite AI app, snap a photo of the blank wall, and ask your AI assistant to show you what it would look like.

PRO TIP: Keep 2–3 inches of space between frames for a gallery look that feels airy and intentional.
Use Matching Frames — or Mix Them Like a Pro
Both approaches work beautifully:
Matching Frames
Black, white, or natural wood frames create a sleek, modern, gallery-worthy look. This is perfect for coastal photography, minimalist designs, etc.:

Mixed Frames
For a more collected, curated feel, combine different textures: bamboo, driftwood, black metal, whitewashed frames, or mid-century walnut. Just aim for consistency somewhere — the color palette of the art, the tone of the frames or the story the wall art is telling.
gallery walls should Start with a Centerpiece
Anchor your arrangement with the largest or most eye-catching print. Maybe the one that brings you the most joy. Build around it, working outward symmetrically or asymmetrically depending on the mood you want to create.
Tell a Story With Your Arrangement
Try not to have your gallery wall feel random. It can represent:
Your travels and favorite towns or cities;
Your love of line art, abstracts and typography;
Your playful sense of humor;
Your appreciation for design, fashion, or color.
Create groupings based on emotion or memory, and your wall will feel meaningful every time you walk past it. You'll also be excited to share it with your friends and family!

Not sure how big your gallery wall should be? Let your space do the talking. As a rule of thumb, aim to fill about 60–75% of the available wall width, so your collection feels intentional, not accidental. Taller ceilings can handle larger “anchor” pieces or a higher vertical stack, while lower ceilings look best with a wider, more horizontal layout that visually stretches the room. Measure the space, sketch a quick outline, and let your frames live comfortably inside that boundary — not elbowing the furniture or grazing the ceiling.
Level, Measure and Commit
Once you’re ready to hang:
Use a level or a laser guide
Make sure spacing is even
Hang the centerpiece(s) first
Step back often to check overall balance
Remember, it doesn’t need to be perfect — just cohesive and perfectly you.
Refresh Your Wall Over Time
One of the best parts of a gallery wall is how easy it is to update. Swap in seasonal designs or new finds that reflect your current style or latest obsession! Your gallery wall can evolve as your home does.
Ready to Create Your Own?
For inspiration (and maybe a purchase or two)...browse our full collection of designs at GrottoStudios.art. Each piece is thoughtfully created to mix-and-match beautifully, making it easier than ever to create a gallery wall you absolutely love.
If you need help choosing the right designs — or want a custom size or color palette — just reach out. I’m always happy to help bring your gallery wall to life.
Here's wishing you deliciously inspired gallery walls...without the swiss cheese effect!
From my grotto to yours,
Nancy
Grotto Studios


Comments